 Some Graphics Cards for desktop PCs require a lot of juice to work, sometimes even more than the PSU Power Supply can output. And if you decide to run dual monitors with dual Graphic Cards, then one Power Supply may not be enough. There are a few options to elevate this situation. Purchasing a new hefty PSU would result in a tidy but expensive solution. A more DIY-friendly and significantly less-expensive solution is to add a second PSU (which you probably have kicking around) and delicate the 2nd PSU to your Graphic Card(s).
There is one tricky part to doing this, the PC motherboard controls when the PSU turns on and off. This post will go over how to automatically turn on/off the 2nd PSU with the PC.
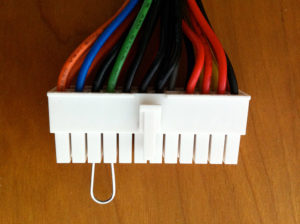
 If you just plug in an ATX PSU, it won’t turn on. Flipping the switch in the back won’t turn it on either. There is a pin on the 24 pin motherboard-connector of the PSU. There will be one green wire in that connector, and when connected to ground (any black wire), the PSU will turn on. As shown to the right, it is possible to just connect the two pins with a wire and the PSU will turn on, but we’d like our 2nd PSU to turn on with the main computer. We’ll basically be using a relay to connect the green wire to ground on the 2nd PSU. The relay will be tripped by voltage from the primary PSU. Here’s the simple schematic:
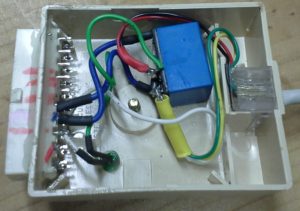
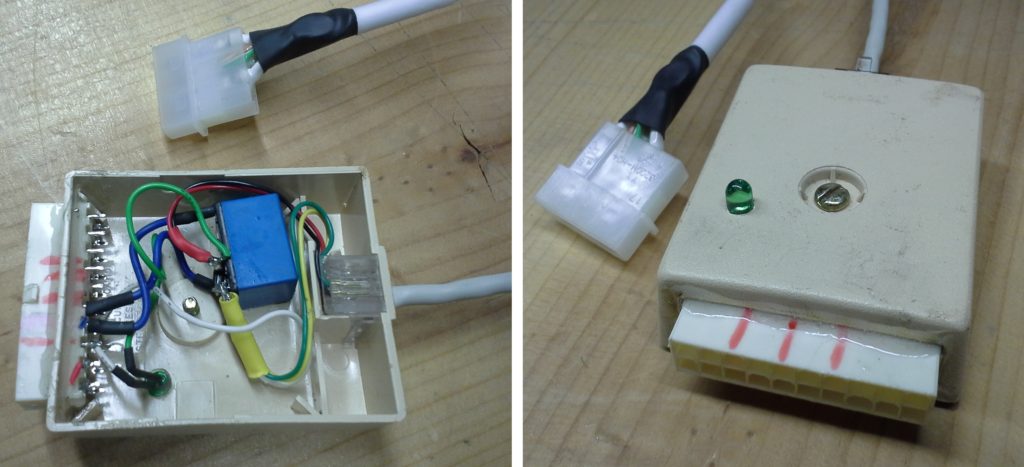
Below you can see how all the components are mounted inside a modified old base-board phone jack box. Notice, the phone jack is still used but an ATX hard drive power connector was added to one end to keep everything modular and tidy. The LED indicates when power is applied to the unit from the primary PSU. The 24-pin connector is a tight fit in the box but is also glued in.

This particular adapter is for my bro who is currently running a 2nd power supply outside of his PC case and using the “paper clip method” to jump the green wire to ground. The box is not necessary if both PSU’s are in a computer case but this one will be outside the computer case and I’d like some sort of defense from the occasional dust bunny attack. Not shown clearly (but barely visible in the bottom right of the right photo) is a 3D-printed base plate (it’s dark grey). The base plate utilizes the same screw that the phone-jack box came with.
This unit cost exactly $0 to make. The ATX connectors were scavenged from other components, the 24-pin connector was de-soldered from an old motherboard. The relay and phone-jack box was kicking around in the parts bin. If you’re reading this, you probably have similar parts in your junk drawer that are just waiting to be used!

