Qi Charging Phone Wasn’t A Failure After All

Qi Wireless Charging Receiver Soldered - Samsung Galaxy Exhilarate SGH-i577
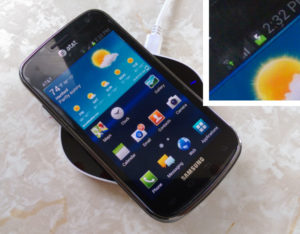
A few days ago I posted how my wireless phone charging hack was a failure. I tried soldering in a Qi Receiver into my old school Samsung Galaxy Exhilarte SGH-i577 phone. While I got all the goodies crammed in the phone, the phone got waaaaay hot when charging. So much so that the phone gave a warning saying the battery is over-temp and charging was stopped!

Fast forward a couple days. I figured I could try a different charging pad. Guess what? It worked perfectly and the phone didn’t get hot! I can’t explain it. I’m not a Qi expert but I did poke around on Wikipedia to learn more about the Qi technology. From Wikipedia:

“Regulation of the output voltage is provided by a digital control loop where the power receiver communicates with the power transmitter and requests more or less power.”

Continue reading

DIY Wireless Phone Charging, Works And Doesn’t Work At The Same Time

Qi Wireless Charging Receiver Soldered - Samsung Galaxy Exhilarate SGH-i577 I’ll be the first to admit my phone is old, very old, but it is small and fits in my pocket nicely. Majority of new phones seem to be near-tablet size. I did want an upgrade and I thought wireless charging would be the way to go… here’s my disappointing story:

You’ve most certainly seen those Qi Wireless Charger Receivers that plug into the micro-USB port on a phone and make your phone have wireless charging capability, right? They are only a few bucks on eBay. I bought one knowing it wasn’t what I wanted because it uses the USB port and it required the use of a phone case to keep it from flopping in the breeze. When I received the charger receiver, I also noticed that it would cover up the flash and part of the camera. The charger receiver was too long:

Continue reading

Project iTopie Continues…

iTopie MDF RightNo, it’s not done yet but the iTopie project continues. As you can see, the frame is painted, the parts are printed and the assembly process is well underway. I’m very satisfied with how the frame came out. It is solid and my added handle is the bee’s knees. The handle is slightly rearward of the current CG but I will try to fix that by putting any additional components as far rearward as possible. It’s still a handy handle, though!


Continue reading

Stealth Motorcycle Garage Door Opener

motorcycle garage door opener

When starting or ending a motorcycle ride, you’re most likely putting the bike away in a garage. Like paying tolls on a bike, a simple task of opening a garage door becomes just plain inconvenient. You either have to get off the bike to manually open the door or dig around in your pocket for the garage door opener that you might have forgotten. I’ve seen some people velcro the garage door opener to the bike but that looks kinda hokey. This slick hack solves that garage door problem is definitely a DIY-friendly project. Continue reading

3D Printing: Not Just For Do-Dads Anymore PART 3 – WDTV

wdtv 3d printed bracket
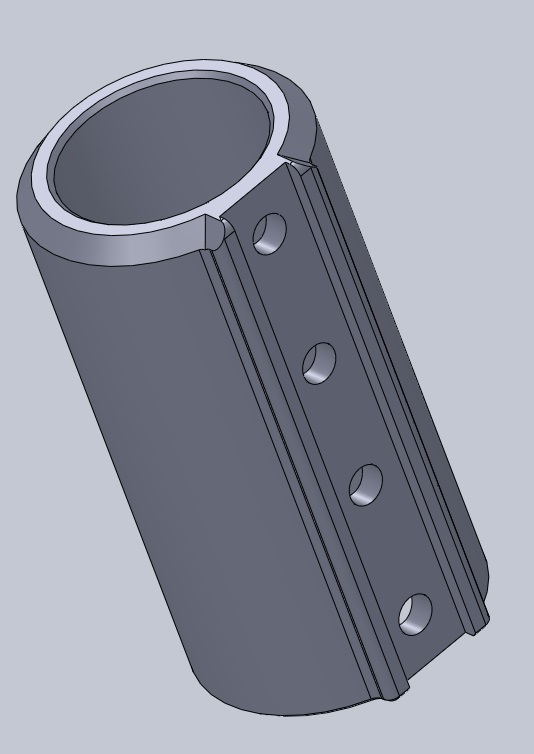
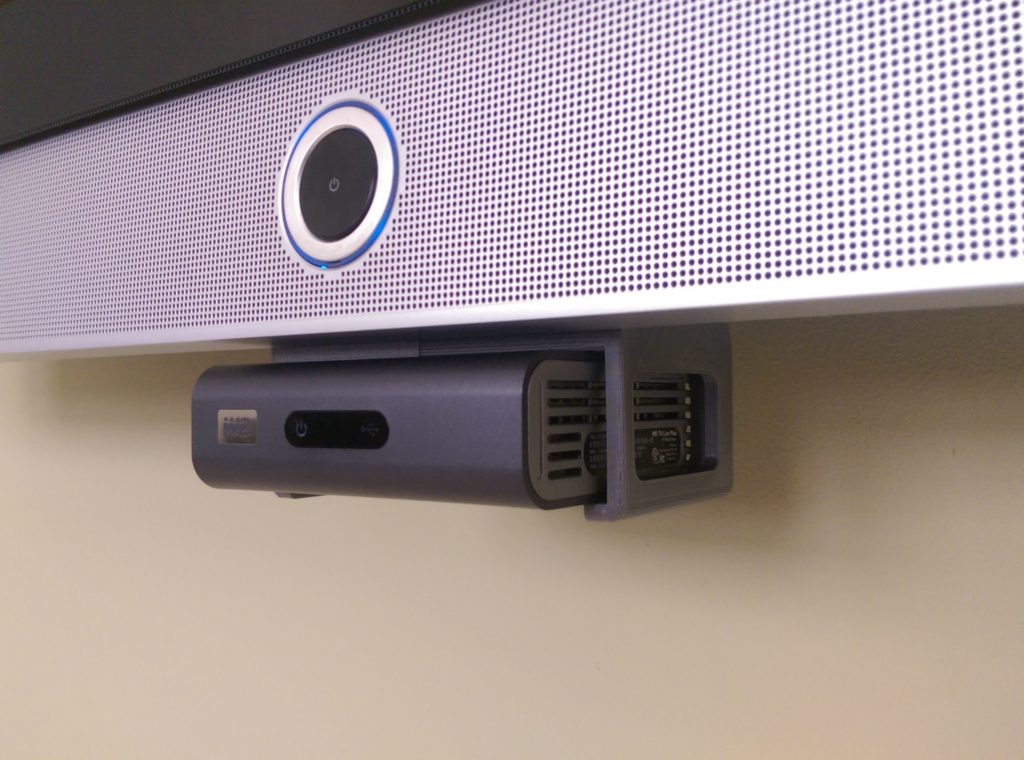
There’s a new TV setup at the Bremster household. Flat screen on the wall with no visible wires. There’s one problem though, my WDTV media player. It’s small but still a tad too awkward to be precariously balanced on the top of the TV. Plus, the power, ethernet and HDMI cords sticking out the back don’t let the media player stay aligned with the TV. So what’s a dude to do? Design and 3D print a sweet bracket of course. Continue reading

How to Hob a Bolt (with a Tap & Milling Machine)

wade extruder diagram
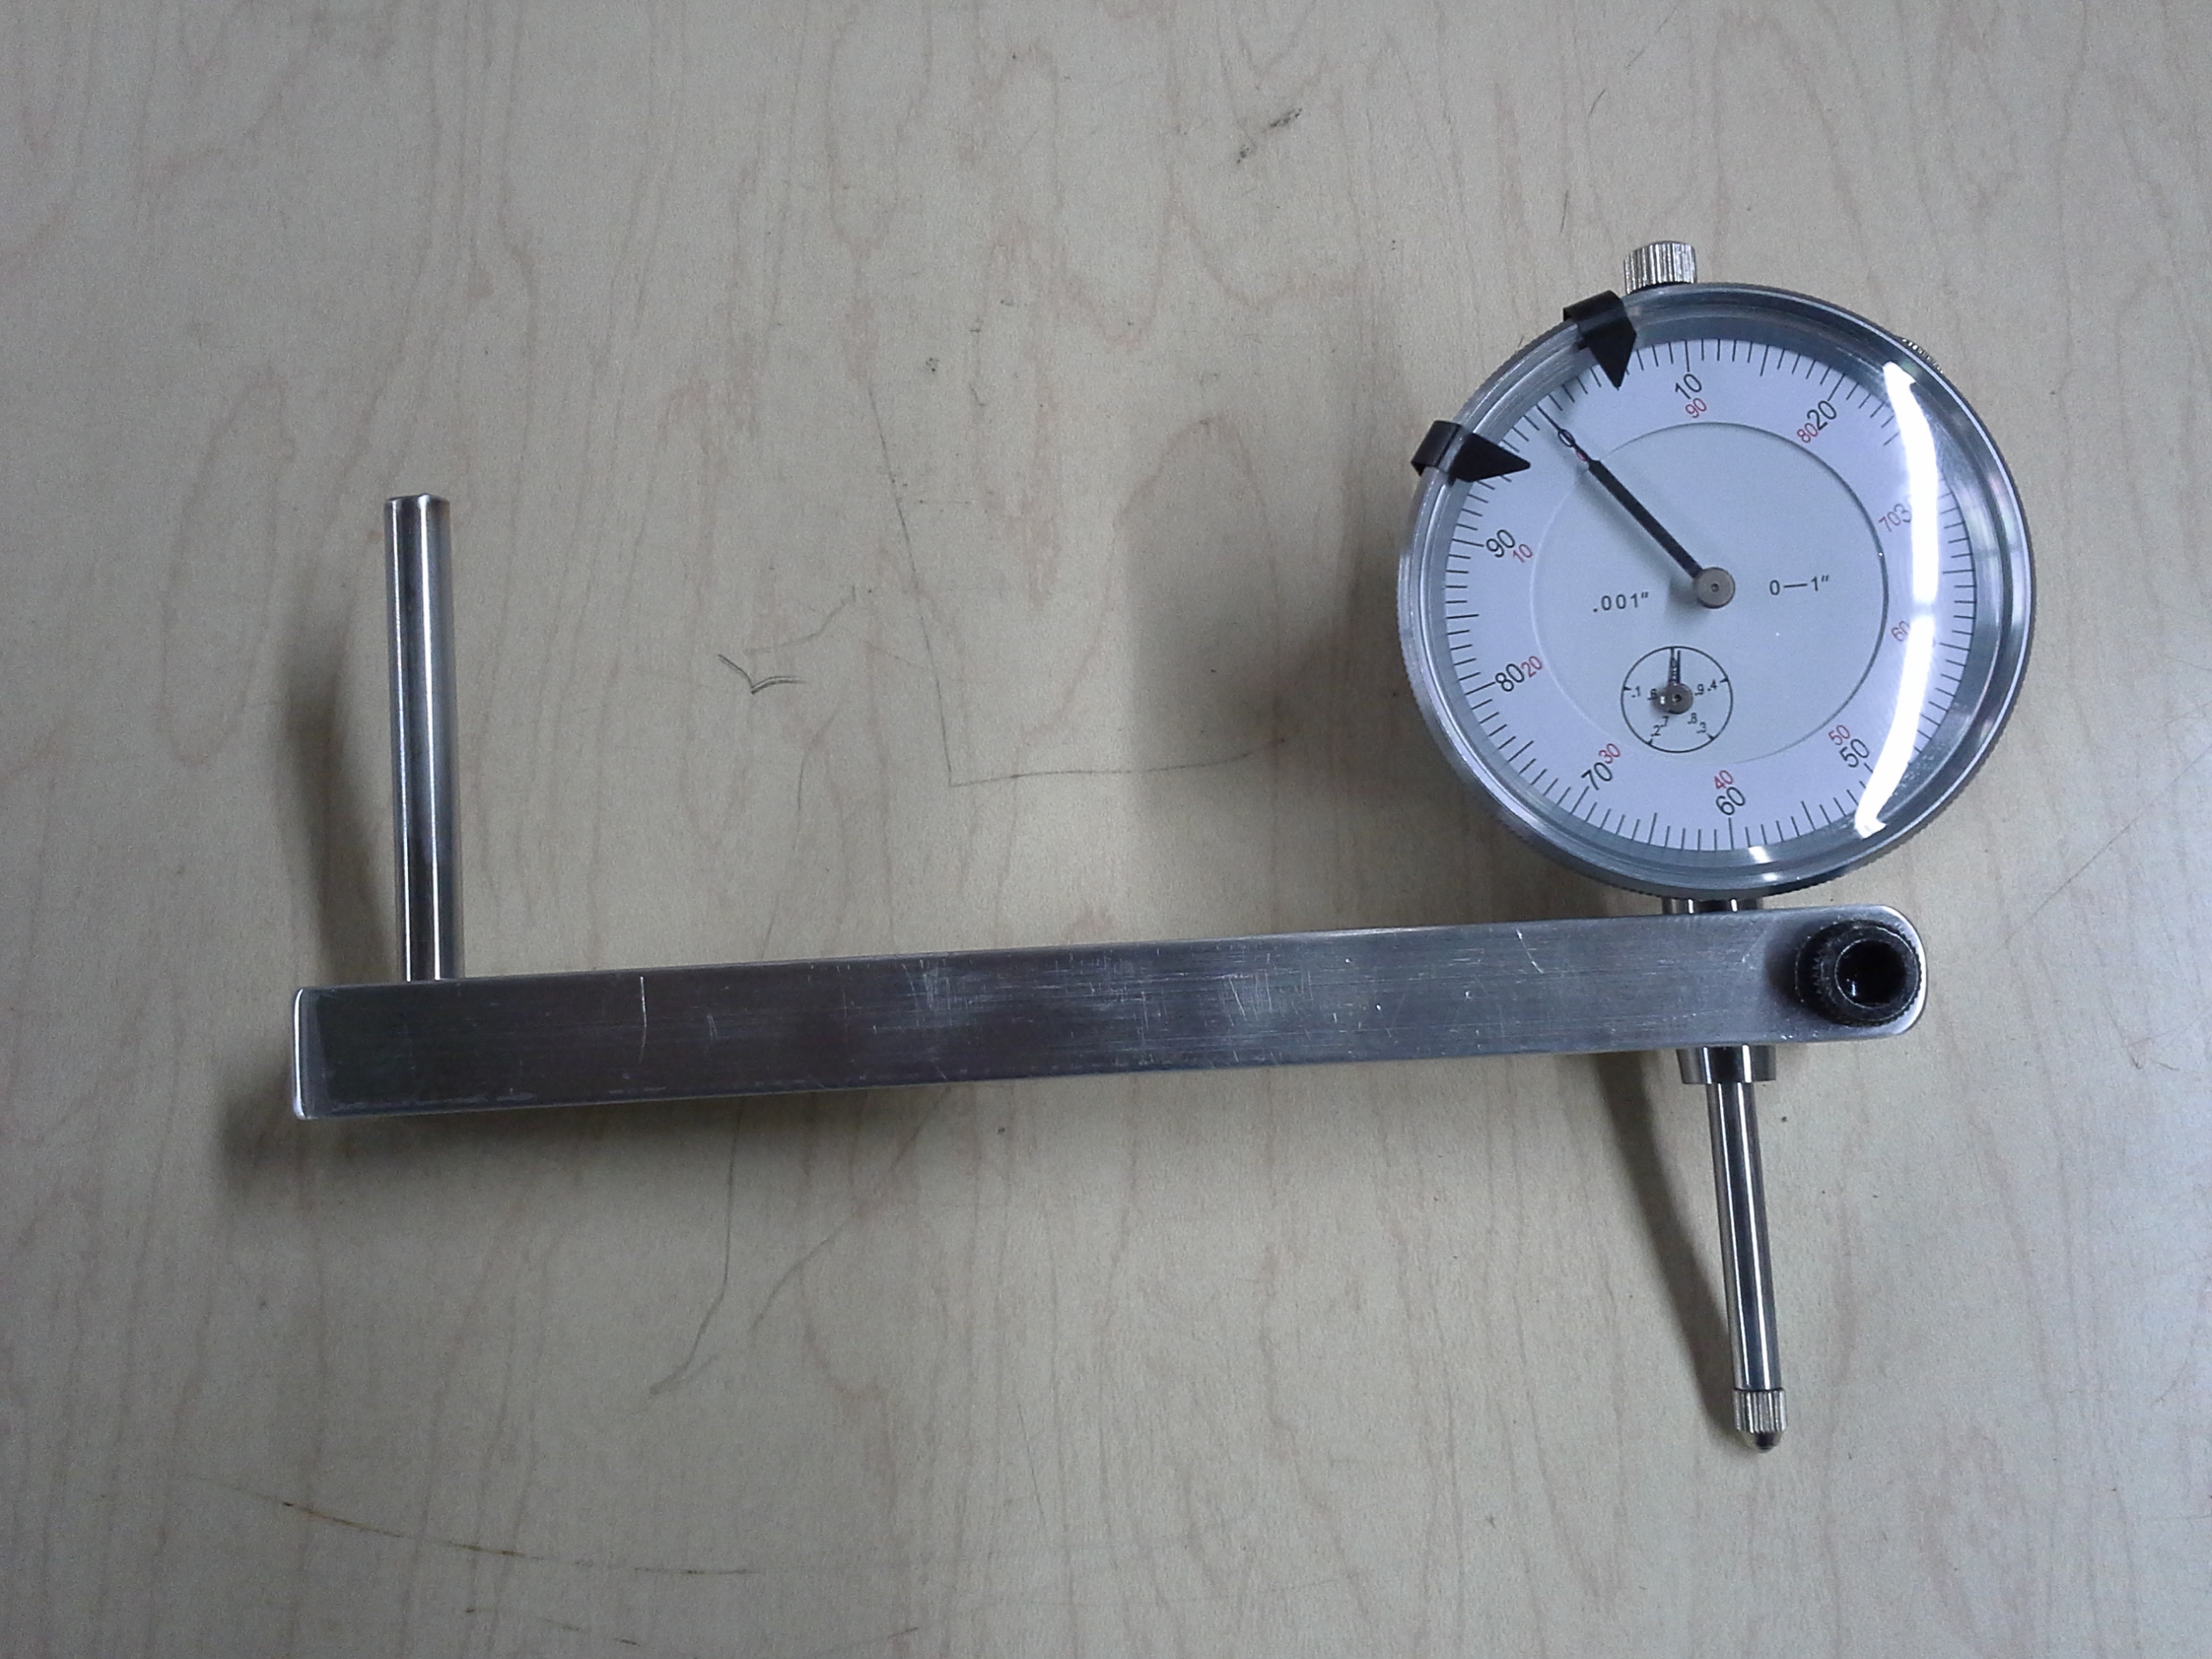
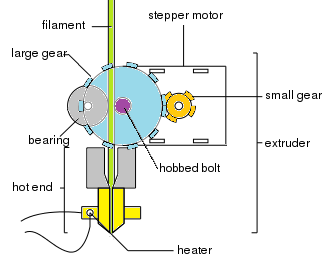
With the Wade-style RepRap 3D Printer extruders, the part that actually drives the filament is a ‘hobbed bolt’. A hobbed bolt has a little toothed-groove around its circumference that grips the filament and drives it into the hot-end as the bolt is turned. There’s a few ways to make a hobbed bolt. We’ll show you one way here that utilizes a Tap and Milling Machine.

For a typical Wade-style extruder, an 8mm bolt is used. Since we want to cut the toothed groove completely around the bolt we need that bolt to rotate. What better way to do that than to mount it in a pair of bearings. Regular skate bearings (608zz) have 8mm inner diameters and are actually what are used to support the bolt in the Wade extruder. I designed up a quick 3D-printed bracket to hold a pair of bearings and provide some features for easy clamping in the Milling Machine’s vise.  Continue reading

Super Cheap Power Supply for FIRST Robotics

12v power supplyI’ve had the honor of mentoring a local High School’s FIRST Robotics team. Their robot runs on a 12vdc battery. During most of the testing, the robot doesn’t need to move too far, and watching the battery charge just seems like an unnecessary item to monitor.  So, the alternative is to make a cheap, dedicated power supply.

This thing started off as an old discarded laptop(or similar device) power supply. It had a plug on it, emphasis on ‘had’. It got chopped in order to add a couple of binding posts. These bad boys will accept a bare wire or banana plug. I designed up a couple ‘caps’ and 3D printed them. They are pretty simple and made to fit a little snugly over the power supply. Eventually they will just be glued on to the power supply housing.

Continue reading

New Web Radio at CT Hackerspace

You may be aware that CTH has a stereo which can play music from a dedicated MP3 Player or internet radio stations via the nearby netbook. The netbook doesn’t work so well in this setup with OS freezing and audio pauses due to stream buffering. As a result, the stereo system is getting an upgrade in the form of a dedicated music streamer!

The music streamer is based on a Raspberry Pi running the Volumio OS distribution. It will play internet radio stations (m3u and pls files) as well as locally stored MP3’s. The Raspberry Pi has an analog audio output but it is low quality. There are different solutions available for this but the cheapest is to use a standard USB sound card. The audio output of the sound card is then piped into a standard Stereo Receiver.

Continue reading

3D Printing: Not Just For Do-Dads Anymore

SA-HT750 Speaker Stand CouplingA pet peeve of mine is all the do-dads and nicknacks printed with 3D Printers. Sure, it’s fun to get going with your printer quickly but I think the non-functional printed trinkets get way too much attention. So what’s a good use for 3D Printers then? How about fixing stuff around the house? One example is a window latch in my house broke. I could only imagine getting a replacement from the window company would be all but impossible. So, I took the broken pieces and designed a replacement. It’s been a couple years and that latch is still latching well. It cost me just a few minutes of time and I got it the same day. That’s a win-win. Continue reading

It’s hip to be square… well, your CNC Machine’s spindle at least…

Tramming GaugeWhile doing some pocketing cuts on the CNC Router, the bottom surface of the pocket turned out a little bit ragged. This is caused by the router’s spindle not being perpendicular to the machine bed. Instead of a flat bottom, it was ‘saw-toothed’, the size of the ‘teeth’ being a function of the cutting tool diameter, the offset distance between passes and how out-of-square the spindle is to the bed. Click ‘continue reading’ below to see an exaggerated graphical example.

This is not a unique problem and there is definitely a solution. There is a thing called a tramming gauge. It is super simple: a piece of metal that holds an indicator a certain distance from the spindle. The tramming gauge is loaded into the spindle and a measurement is taken in one position and again after the tramming gauge is spun 180 degrees. If both measurements are the same, the spindle is square. Here’s a great video on Tramming a Bridgeport Milling Machine Spindle.

Continue reading